One of the biggest hassles for a Microsoft 365 IT Admin is updating birthdays and employee hire dates for company colleagues. In this article, I will explain how you can add or revise these dates using PowerShell ~5 combined with SharePoint Lists and Microsoft Graph SDK, a collection of PowerShell modules containing commands for calling the Microsoft Graph service.
Microsoft Graph a powerful capability to update dates for employees.
In this article, we will combine the Microsoft Graph Service with PowerShell and a simple connection with one SharePoint List. The list will store the data that we will use in the future to update employee birth and hire dates. Let's get started!
1. Use Microsoft Graph to set the date.
To begin this process, you need to install the PowerShell Microsoft Graph SDK, and you can do this by running this command:
# Install the Microsoft Graph SDK
Install-Module -Name "Microsoft.Graph"
When the installation has finished, you will need to load and import the SDK module in the current PowerShell session:
# Import Microsoft Graph SDK  Module to the current session
Import-Module -Name "Microsoft.Graph"
At this moment you have the SDK installed and imported and are ready to start using the Module.
First of all, you need to authenticate on the Microsoft Graph and accept the required consent scopes.
# The scopes that will be needed to update the user information
$scopes = "User.Read.All", "Directory.ReadWrite.All", "Sites.FullControl.All"

# Connect to Microsoft Graph
Connect-MgGraph -Scopes $scopes
This command prompts you to go to a web page to sign in using your administrator account of your Microsoft 365 environment. As soon as you have accepted all the required consents, you will have the authorization to read/write the information needed.
To update the birth (or hire) date of an employee, you can use the Update-MgUser command and set the date of each user that we want:
$userId = "UNIQUE IDENTIFIER OF THE USER"

# Prepare the body to send the new Birthdate
$params = @{
    Birthday = [System.DateTime]::Parse("11/8/1997"),
    HireDate = [System.DateTime]::Parse("1/12/2009")
}

# Update the user information
Update-MgUser -UserId $userId -BodyParameter $params
After running the command with the correct information, both dates will be updated according to the dates defined by the IT Admin.
When everything is finished, all you need to do is close the connection with Microsoft Graph.
# Disconnect from Microsoft Graph
Disconnect-MgGraph
These are the basic steps for changing an employee's birth and hire date using Microsoft Graph.
Now, we will see how you can integrate a SharePoint list to create a process to update employee birthday based on a specific column value.
2. Integrate the update process with a SharePoint List
Let's imagine that your employee's information is stored in one SharePoint List. You can take advantage of this list to help you update their respective date of birth inside Microsoft Environment.
To start this you need to have a SharePoint list, that contains two columns:
- The office 365 user to update - Can be a Person or Group or a single line of text field
- The birthdate of the respective user - Can be a date time or a single line of text field
Below I will show you my list example with the columns that I have created:

To use the data of the list, first of all, you need to get all the items inside the list. To get these items you can use Get-MgSiteListItem and provide the SiteId and the ListId associated with the respective list.
Before calling this command you will need to get some information based on the list URL as shown below:
# Definition of your list URL to use in the process
$listUrl = "## YOUR LIST URL ##";

# Regex that will help get the value of the list URL and name
if ($listUrl -match "allitems\.aspx") {
    $regex = 'https:\/\/(.*?)\/Lists\/(.*?)\/'
}
else {
    $regex = 'https:\/\/(.*?)\/Lists\/(.*)'
}

# Extract all matches and display the value property
$siteUrl = [RegEx]::Matches($listUrl, $regex).groups[1].value
$listName = [RegEx]::Matches($listUrl, $regex).groups[2].value

# Get the Site based on the URL to get the SiteID
$site = Get-MgSite -SiteId $siteUrl
$siteId = $site.Id;

# Get items associated with the current list (data of the user)
$listItems = Get-MgSiteListItem -SiteId $siteId -ListId $listName -ExpandProperty Fields
You can also request the column definitions information of the list using MgSiteListColumn and provide the necessary parameters SiteId and the ListId.
# Get the columns definitions of the current list (internal information about the columns)
$listColumns = Get-MgSiteListColumn -SiteId $siteId -ListId $listName
This information will help you when you have to collect the field data for a specific column. In case this column was created with a name and then changed, your internal name will be different from the one the user will see in the list header. To prevent such errors during the process, you simply have to map the column names to the internal name value of the respective column.
# Map the Definition of your column name for the user office 365
$useremailColumn = "Employee"
$internalNamePerson = ($listcolumns | Where-Object { $_.DisplayName -eq $useremailColumn }).Name;

# Map the Definition of your column name for the birthday
$birthdateColumn = "Birthdate"
$internalNameBirthday = ($listcolumns | Where-Object { $_.DisplayName -eq $birthdateColumn }).Name;

# Map the Definition of your column name for the hire date
$hireDateColumn = "Hiredate"
$internalNameHireDate = ($listcolumns | Where-Object { $_.DisplayName -eq $hireDateColumn }).Name;
Before starting the update, you must finally access all the users present in the tenant, so that you can later access information about the user.
# Get all the users of the tenant
$microsoftGraphUsers = Get-MgUser
At this point you already have everything you need to start the user update process. You just need to iterate over all the list entities and start updating each user, as you can check below:
# Iterate over all the list items to start updating the values
$listItems | ForEach-Object {

	# Access to the Birthdate information
	$birthdate = $_.Fields.AdditionalProperties[$internalNameBirthday]

	# Access to the User information (email)
	$mail = $_.Fields.AdditionalProperties[$internalNamePerson];

	# Get the user and collect your ID
	$userGraph = $microsoftGraphUsers | Where-Object { $_.Mail -eq $mail }
	$userId = $userGraph.Id;

	# Update the birthdate
	if ($birthdate -and $userId) {
		Update-Birthdate -birthdate $birthdate -userid $userId
	}
}
As I've mentioned before, your user column can be a Person field. With this column, you need to make some upgrades to the code to get the correct $userId to use on the Update-MgUser command.
First, let me explain what is a Person Field. This field is a searchable list of people presented on your tenant, where you can pick one or multiple people for this field. But with this type of field, you have one little difference. The value you get is not the name, email, or identification of the selected user. It's a LookUpId, an Id that links to a hidden list containing information about the user.
The hidden list that you need is the User Information List. You can retrieve this list data using the following code:
# In case of the user field has type person
if ($isPersonColumn){
	# Get the list 'User Information from the Site collection
	$listUserItems = Get-MgSiteListItem -SiteId $siteId -ListId "User Information List" -ExpandProperty Fields
}
Now that you have all the data from User Information List you can get the specifications of the user associated with the respective id. To do this, you will need to go over your list items iteration, and for each entry, get the value of the LookUpId and set the $mail variable to the correct email.
$listItems | ForEach-Object {

	(...)

	# Access to the User information (email)
	$mail = $_.Fields.AdditionalProperties[$internalNamePerson];

        if($isPersonColumn) {
	      # Access to the user lookupid information
	      $lookupid = $_.Fields.AdditionalProperties[$internalNamePerson + "LookupId"]

	      # Get the user related with the lookup id
	      $userLookup = $listUserItems | Where-Object { $_.Id -eq $lookupid }

	      # Get the user email
	      $mail = $userLookup.Fields.AdditionalProperties.UserName;
        }

	(...)
}
When you complete all these steps, you will have a small PowerShell script that will help you update both dates and your hassles will disappear.

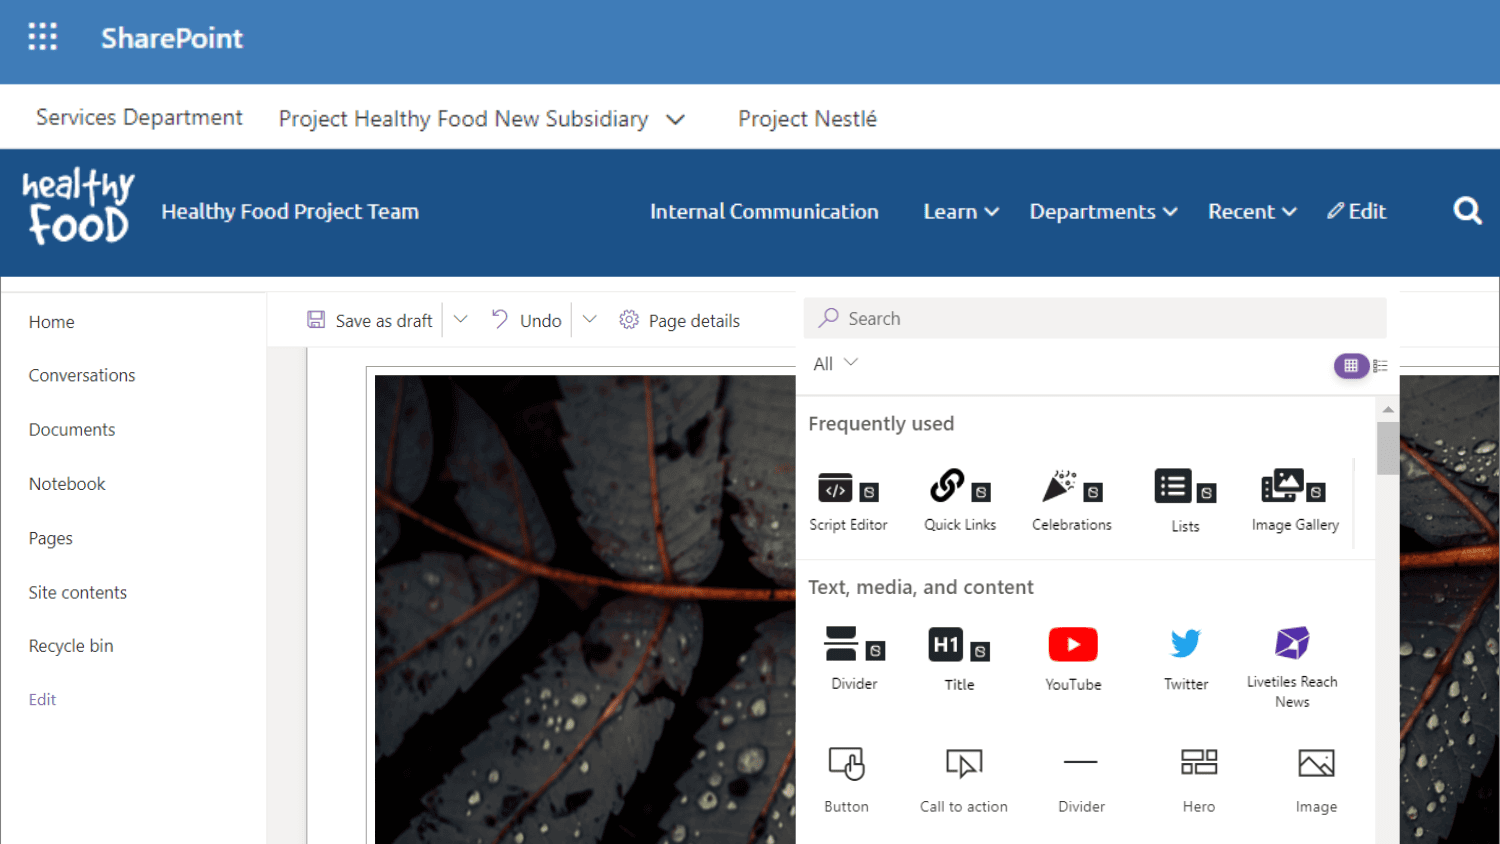
Congratulations! Now, that you can update your employee's birth dates, you are now ready to start using the Celebrations web part. Recognizing people is so important right now. Make sure your intranet is personalized, intentional and provides opportunities every day to create connections. Feel free to reach out to our team and get a demo, to learn more.