
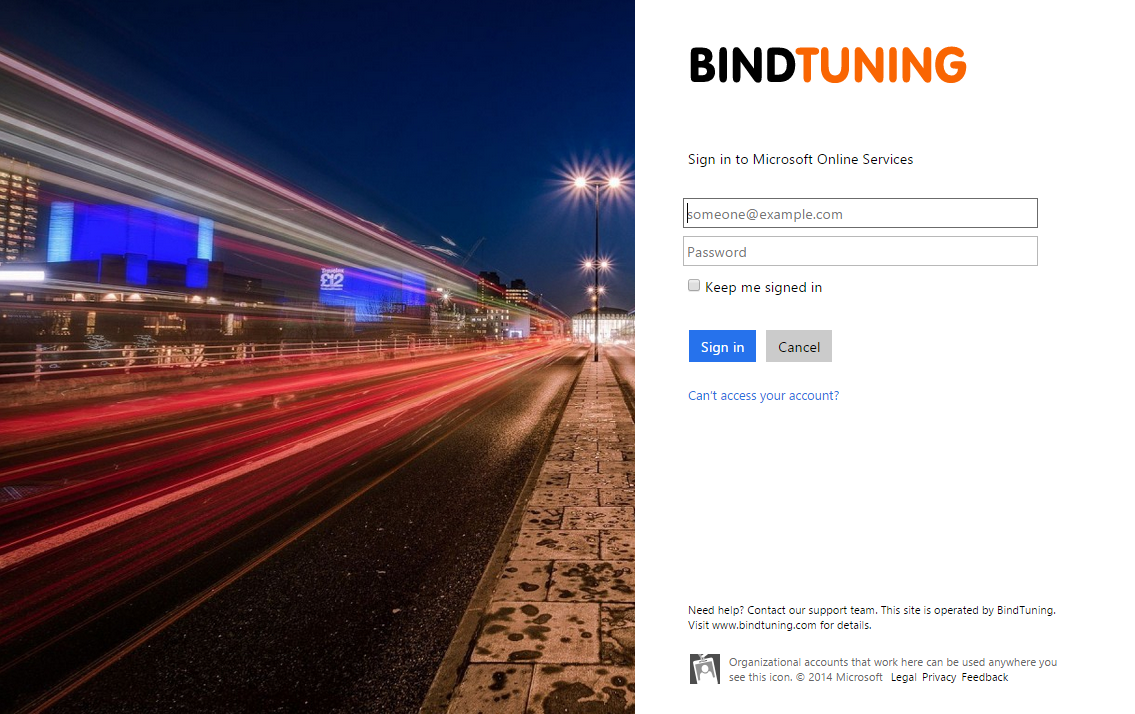
Until now, no matter the effort you invested in branding your Office 365 sites and keep your collaborators involved with your company brand, the Sign In page was impossible to change.
Now if your Office 365 environment is associated with the Azure Active Directory you are able to customize the appearance of the Sign In page so that it includes your company logo, color scheme and a few other settings.
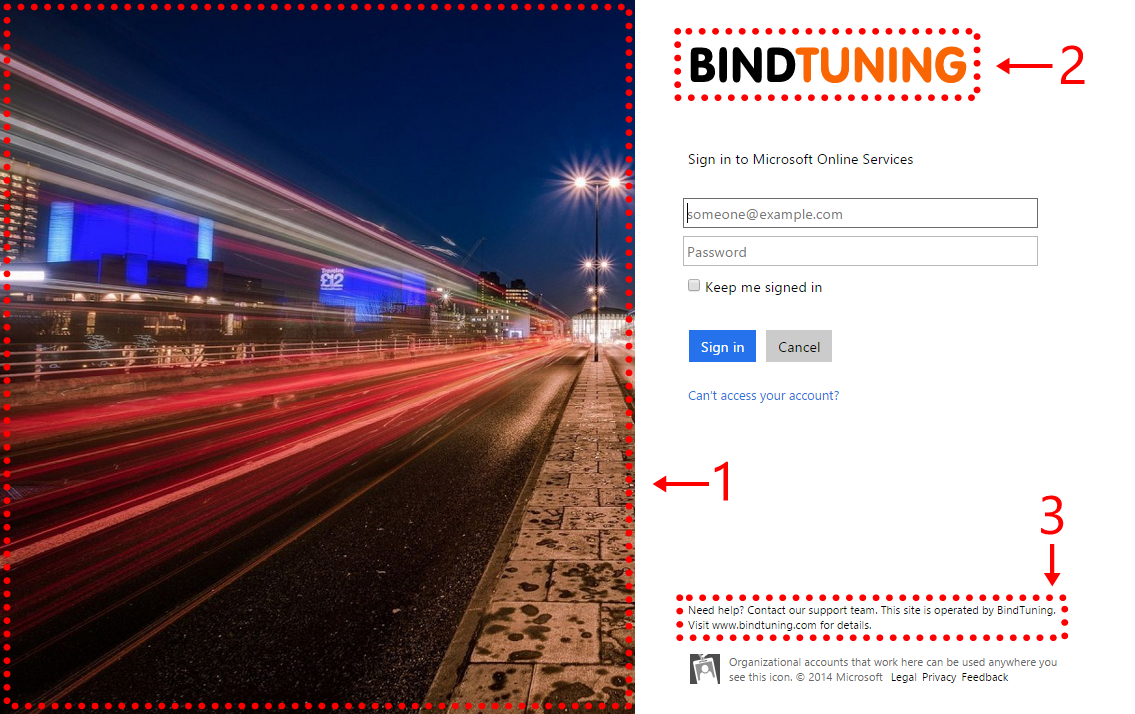
Which elements can be customized?
| # | Page Elements | Location on the page |
|---|---|---|
| 1 | Large Illustration / Background Color | Shown at the left of the page. Replaces the image that would normally be displayed by the destination site that your users are signing in to. The Background Color may be shown in place of the Large Illustration on low bandwidth connections, or on very narrow screens. |
| 2 | Banner Logo | Shown at the top-right of the page. Replaces the logo that would normally be displayed by the destination site that your users are signing in to (For example. Office 365 or Azure). |
| 3 | Sign In Page Text | Shown above the page footer when you need to convey helpful information to your users before they sign in with their organizational account. For example, you may want to include the phone number to your help desk, or a legal statement. |
Customizing the "Sign In" page
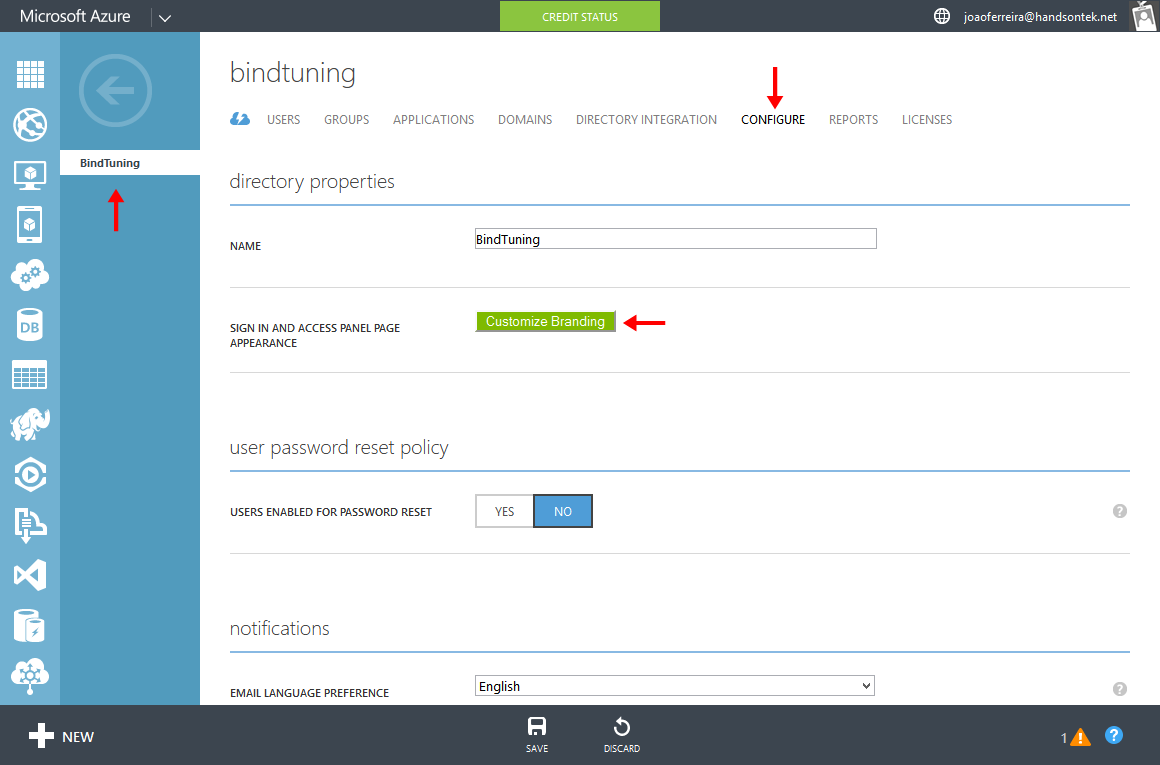
- Sign into the Azure Management Portal as the administrator of the directory you wish to customize.
- Select the directory you wish to customize.
- Select the Configure tab, and then select Customize Branding, if this option is not available make sure your user is assigned to the Active Directory.
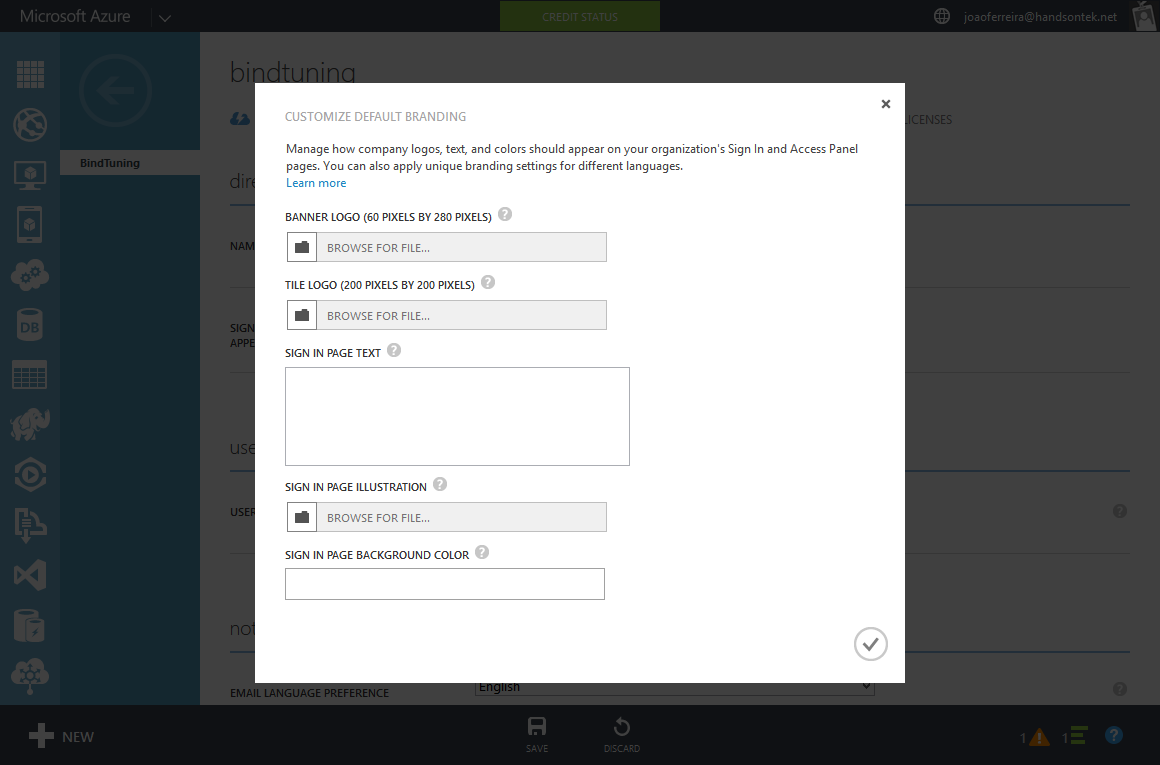
- Modify the elements you wish to customize, all fields are optional this means the default customization will be displayed for the fields you leave empty.
- Click the Save button.
The customization could take up to one hour to be applied to your Sign In page.
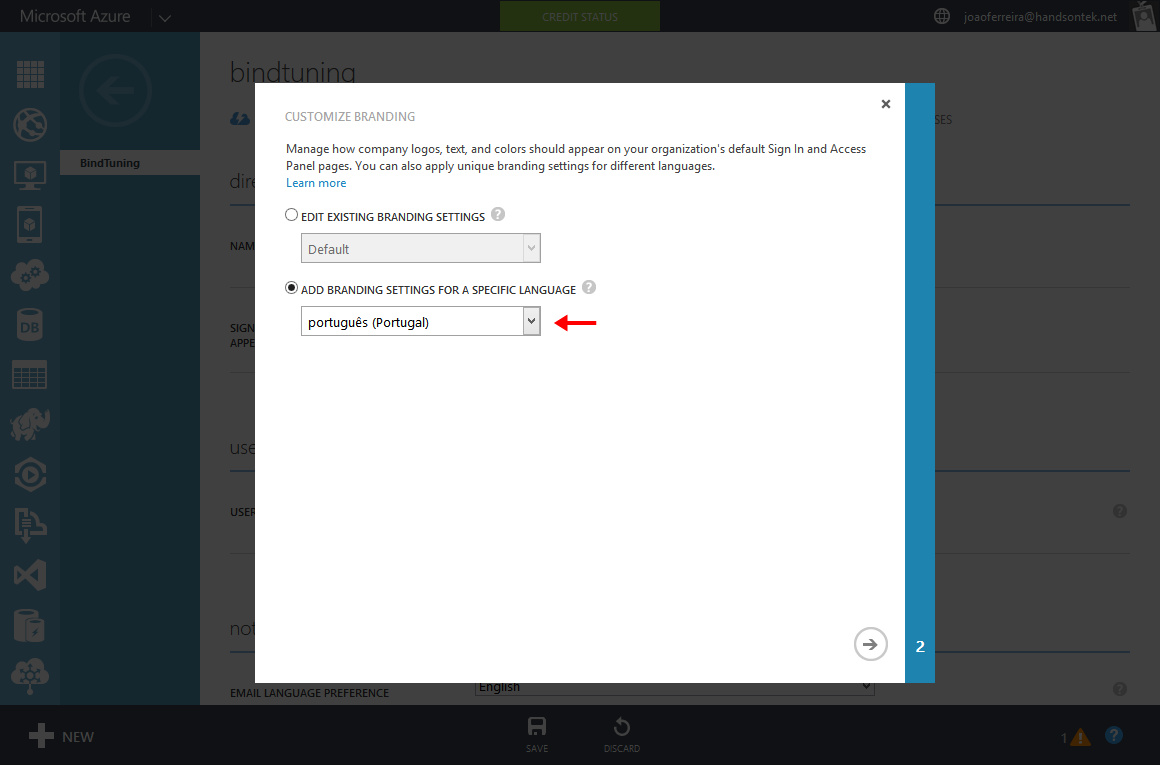
After your first customization have been saved, an administrator also has the option to add localized versions of each element, for different languages/locales, this means that you can have multiple Sign In pages for your collaborators around the world.
Remove customization
- In the Azure Management Portal, under the Configure tab, click the Customize Branding button.
- On the Customize Branding page, select the Edit Existing Branding Settings option and then go to the next page.
- Depending on which elements you want to remove, do one or more of the following:
- For Banner Logo, click on the check box to Remove uploaded logo.
- For Tile Logo, click on the check box to Remove uploaded logo.
- For Sign In Page Text, clear all text.
- For Sign In Page Illustration, click on the check box to Remove illustration.
- For Sign In Page Background Color, clear all text.
- Click the Save button to remove the elements.

If necessary, click the Customize Branding button again and repeat these steps for all language-specific branding that needs to be removed.
All branding settings have been removed when you click the Customize Branding button and see the Customize Default Branding form with no existing settings configured.