SharePoint is rich with features that you can use to do many things, among which is great for creating a corporate intranet.
When you first encounter SharePoint, however, you might not find it as attractive as you had hoped. If your goal is to provide a bright and colorful intranet, you need to give SharePoint a more attractive and intuitive user interface. Typically we hear, “I want to make it not look like SharePoint."
But where to begin?
If you want to learn how to improve your SharePoint intranet’s appearance, you’ve come to right place. The experts at BindTuning know how to give SharePoint a makeover that will create a more user-friendly interface that makes it attractive and usable.
In this Beginner’s Guide to SharePoint Branding, we will discuss ways of visually branding SharePoint sites to suit your business needs.
Our goal is to help users with little SharePoint experience to feel comfortable. We’ll starting simple and grow more detailed gradually as you become proficient.
While this guide is aimed at teaching less-experienced SharePoint users how to begin, the hints and tips included should also prove useful to more advanced users.
About SharePoint branding
SharePoint is a feature-rich, complicated product that offers its users myriad options. SharePoint gives you a multitude of ways to do whatever you want to accomplish. Branding your business or product in SharePoint is no different.
Some tasks are easier than others, of course. For instance, changing your logo or altering a site's color scheme are trivial tasks. But something like changing your navigation bars or removing items from your page are more complex operations.
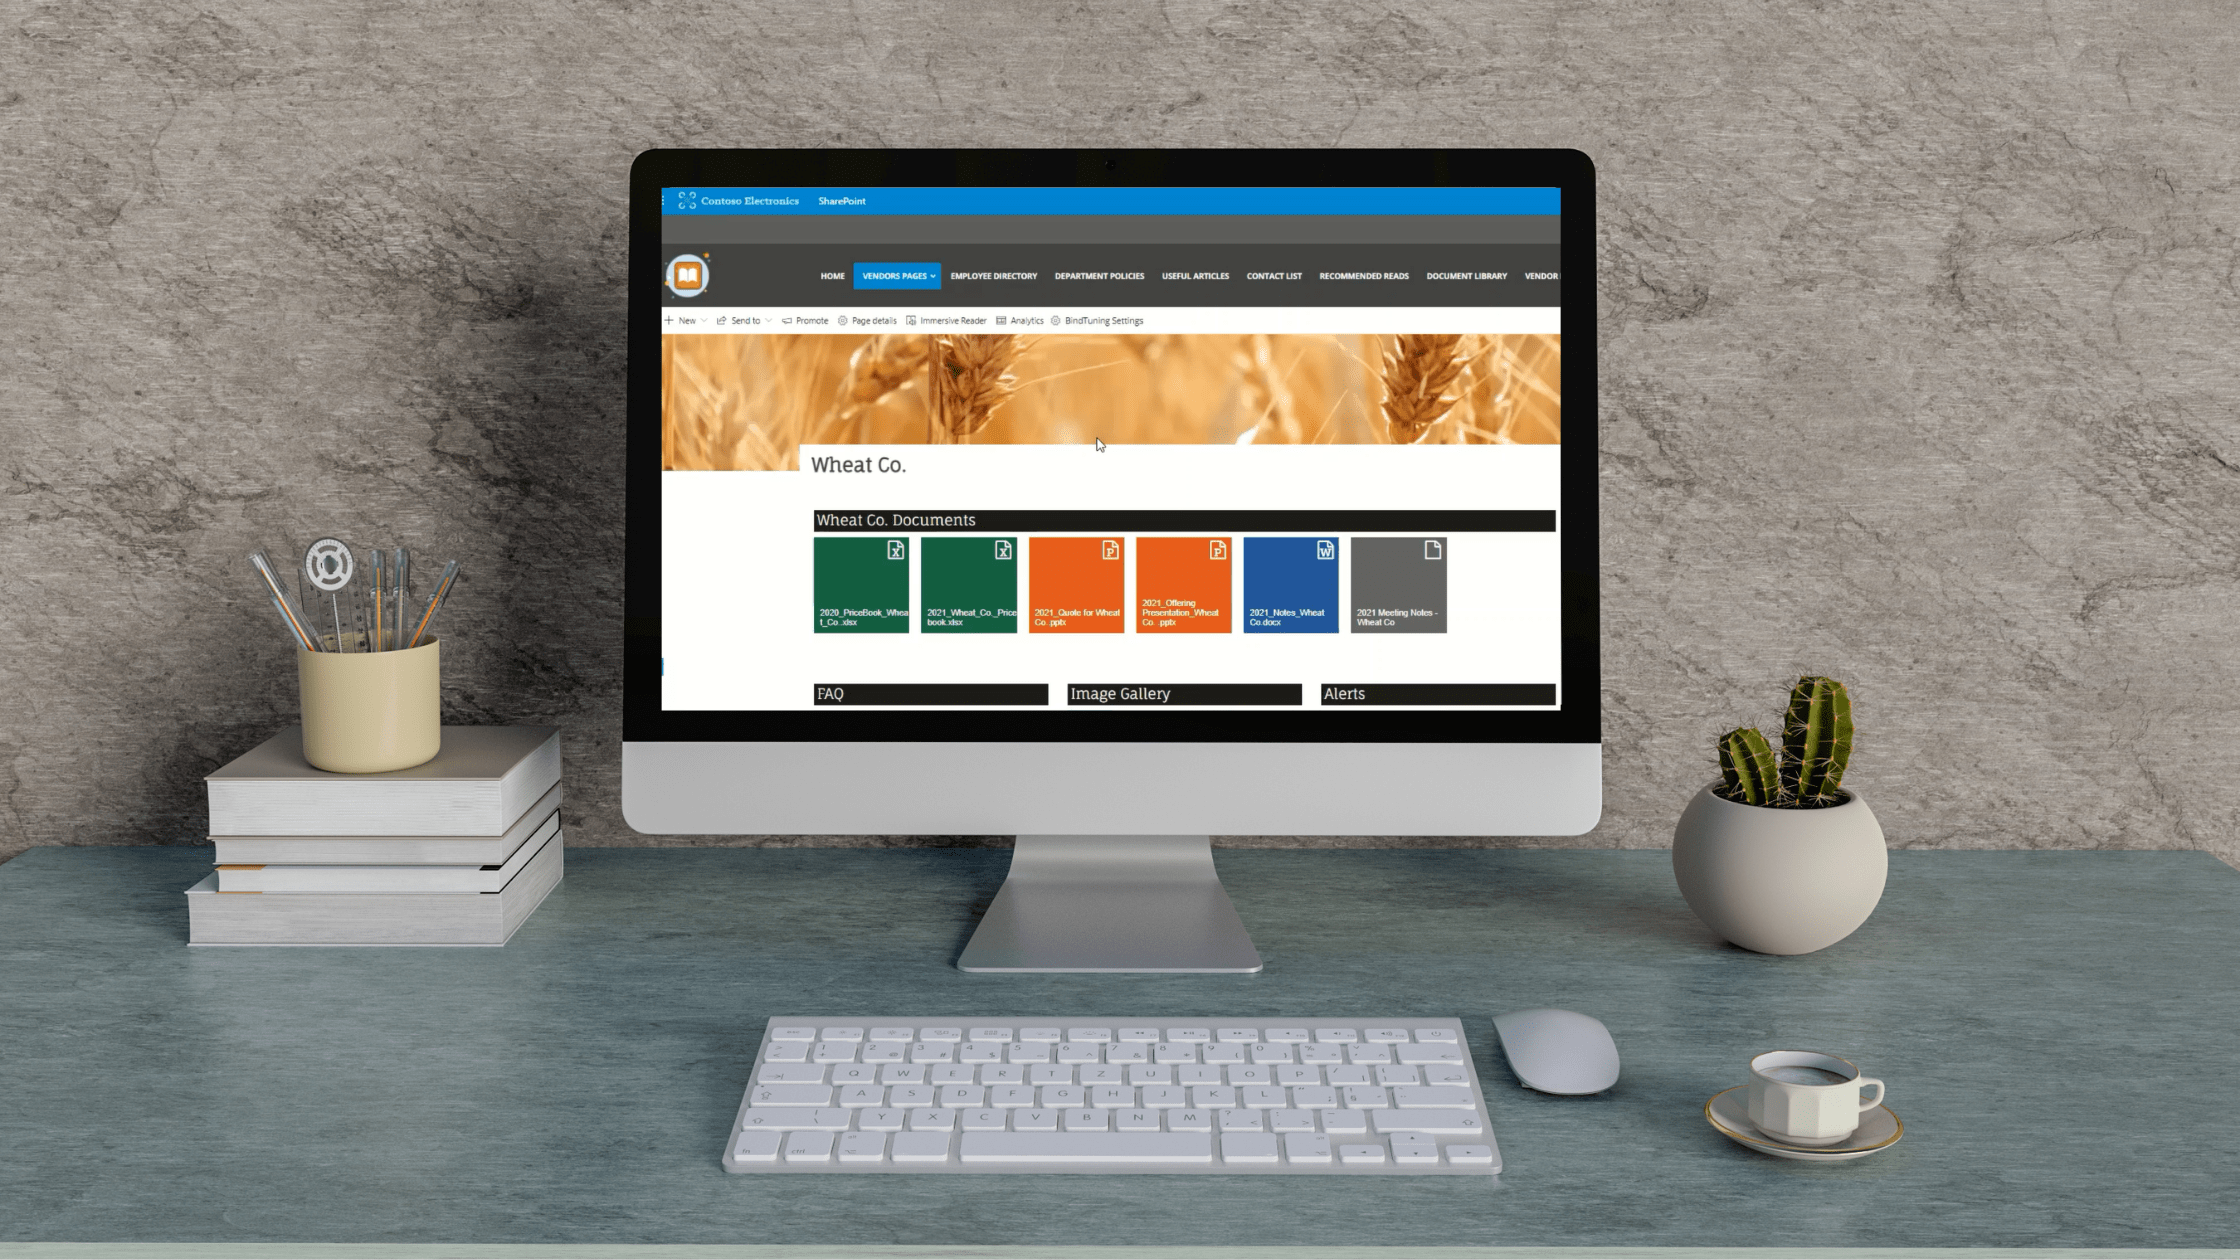
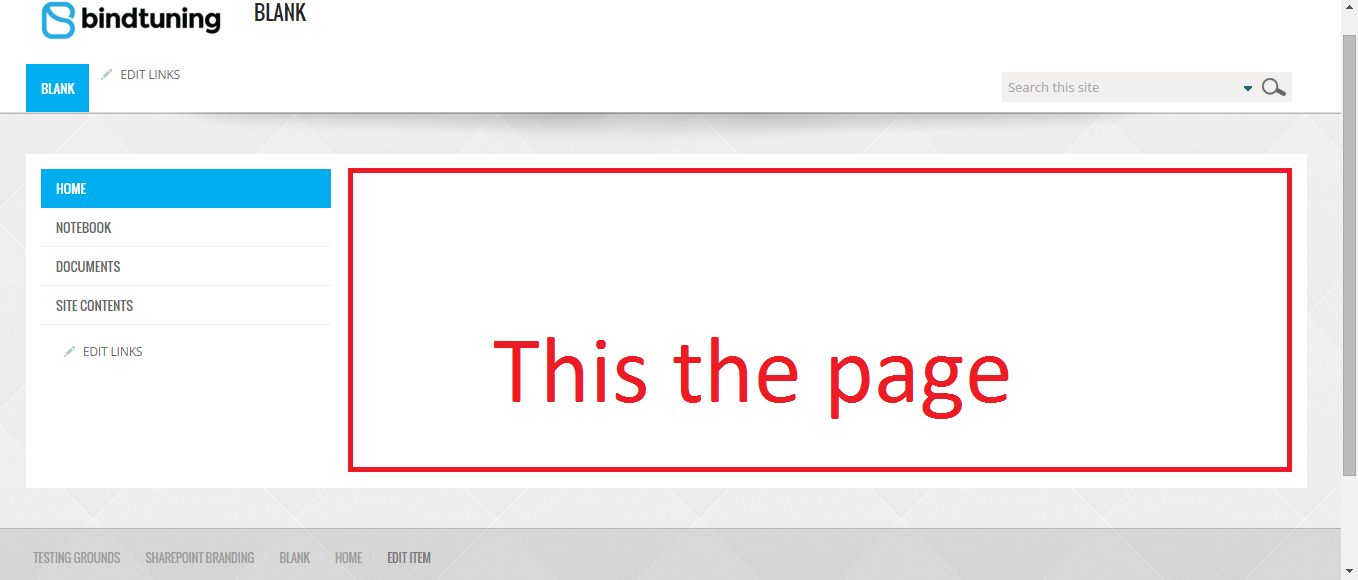
To demonstrate what can be achieved in SharePoint, this image shows a typical SharePoint page using a custom theme.
While creating this type of customization requires an investment of time as well as some expertise in SharePoint and web development, it’s a good example of how much potential SharePoint has for branding.
Where do I begin?
To kick off our first branding lesson, we're going to start small and aim big. We're going to make our site look completely different by using only very simple steps.
#1 Changing your logo
This simple task should help you familiarize yourself with some very important pages in SharePoint.
First, open the cogwheel menu at the very top of the page and select the Site Settings button.
This will open a new page that gives you a huge list of options. Finding yourself here can be confusing at first but, with use, you'll find what you're looking for in no time. For now let's look for the "Title, description, and logo" options. Using Ctrl+f may be useful here.
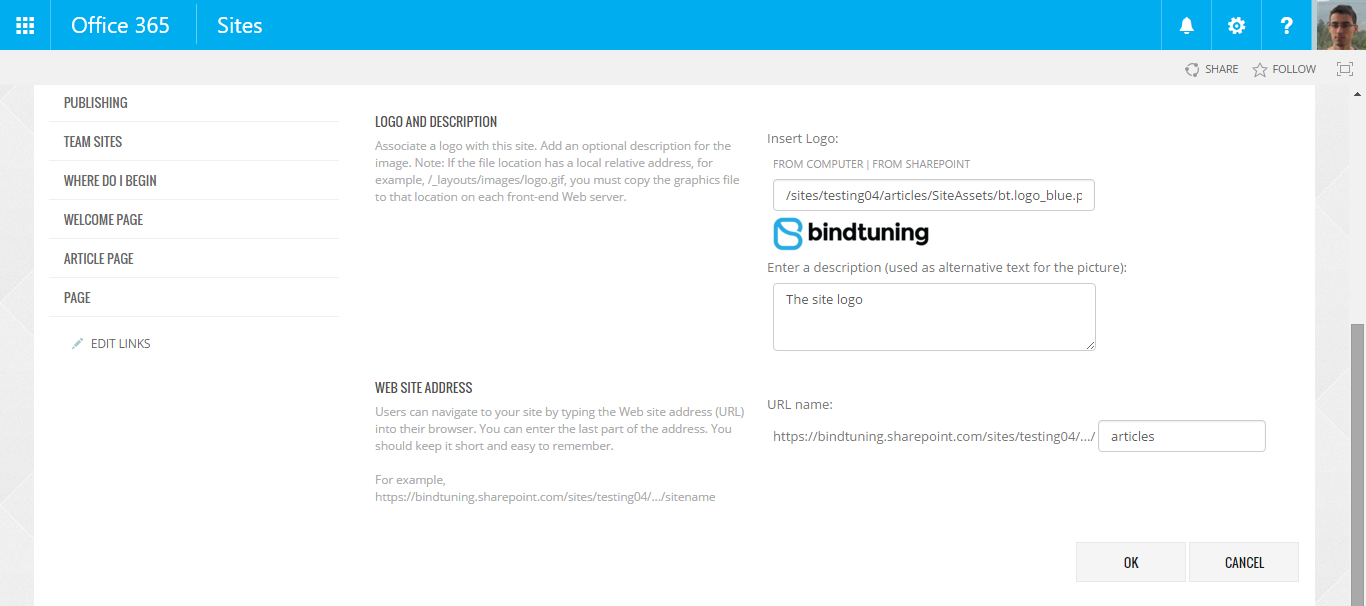
On this page, you can change the title of your site, upload an image to use as a logo and update the site's URL. Note that if you choose to add an image from your computer anywhere in SharePoint, it will be uploaded to your site. So don’t worry about moving, deleting or renaming the file on your machine.
Once you've filled out the fields, press the OK button and the page will refresh with your changes applied.
This is just a small change but it's a good start.
#2 Changing SharePoint color schemes
Now this is where we begin to see some real changes. Just like before, navigate to the Site Settings page. This time, however, choose the "Change the Look" option.
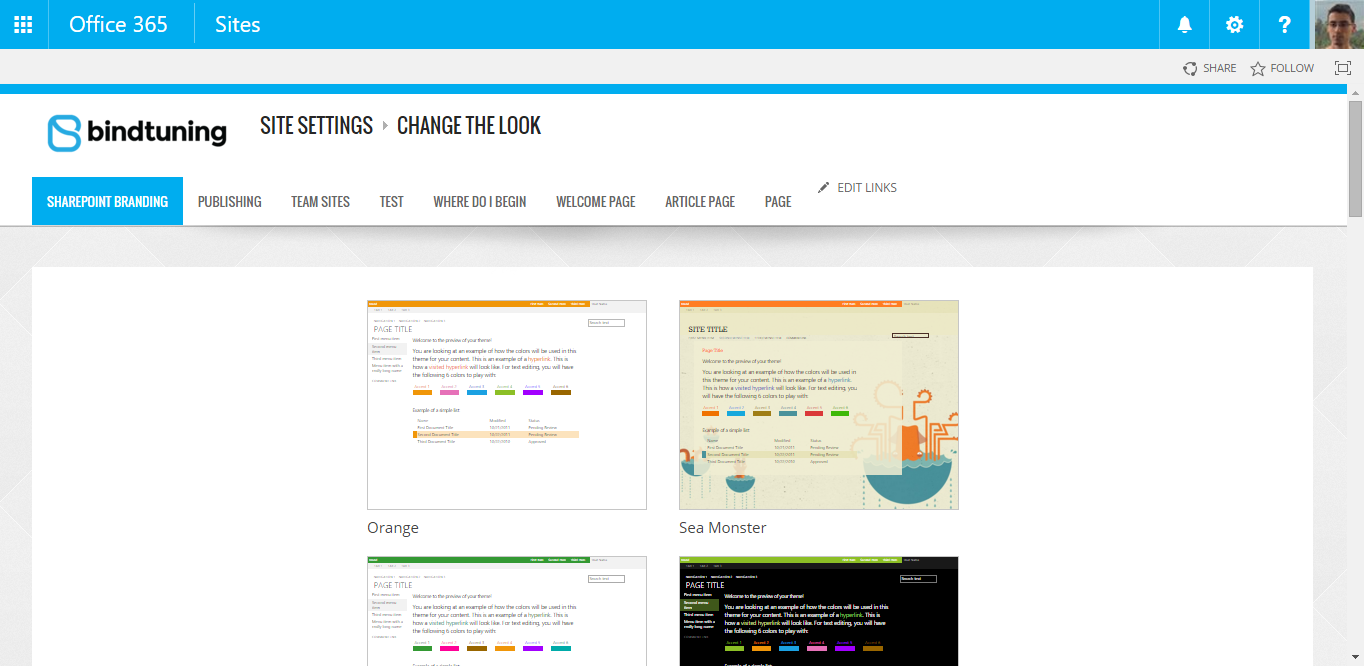
This opens up a list of preset themes that you can customize. Select one that catches your eye and let's get to the real fun.
Look at the left-hand side of the page and you will see a field at the top where you can upload an image. To do so, you can either press the image or drag and drop one from your computer. This image will be used as your site's Background.
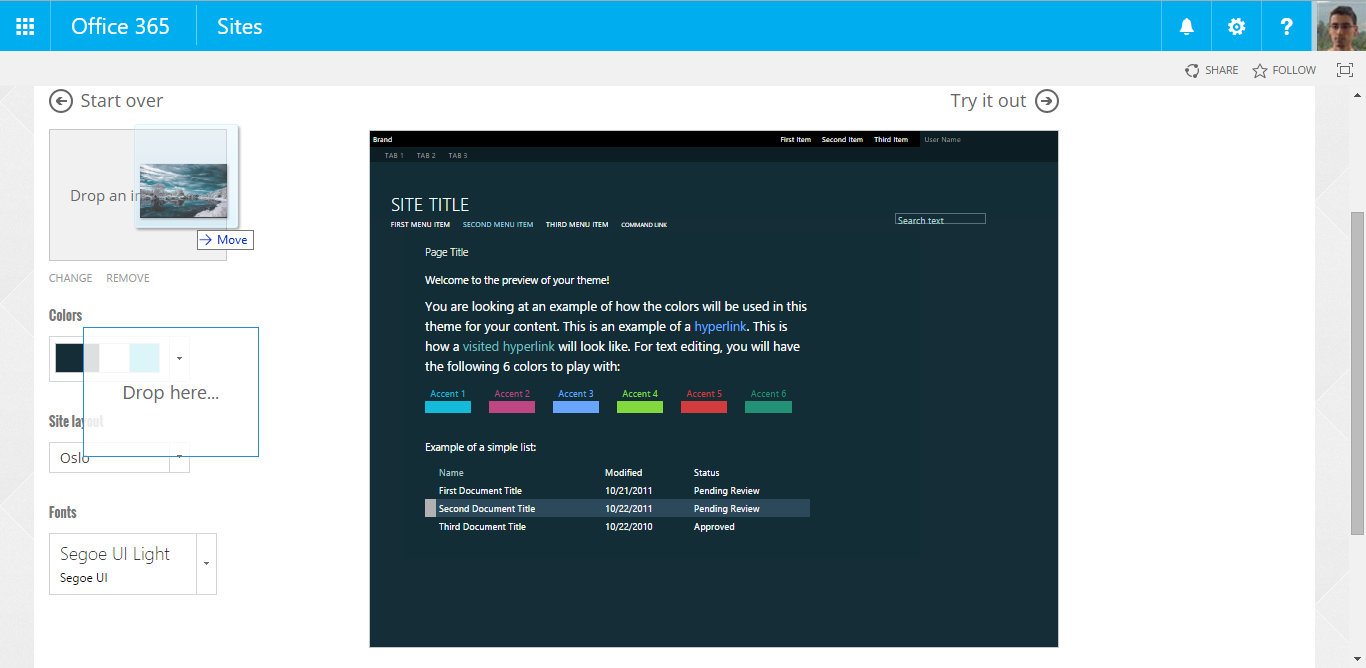
The remaining fields are pretty self explanatory and the preview window on the page updates whenever you change fields, so go ahead and experiment. Once you're satisfied with what you have, just press the Try It Out button and you'll see a preview of how your site is going to look.
Now click on "Yes, keep it" and you're done.
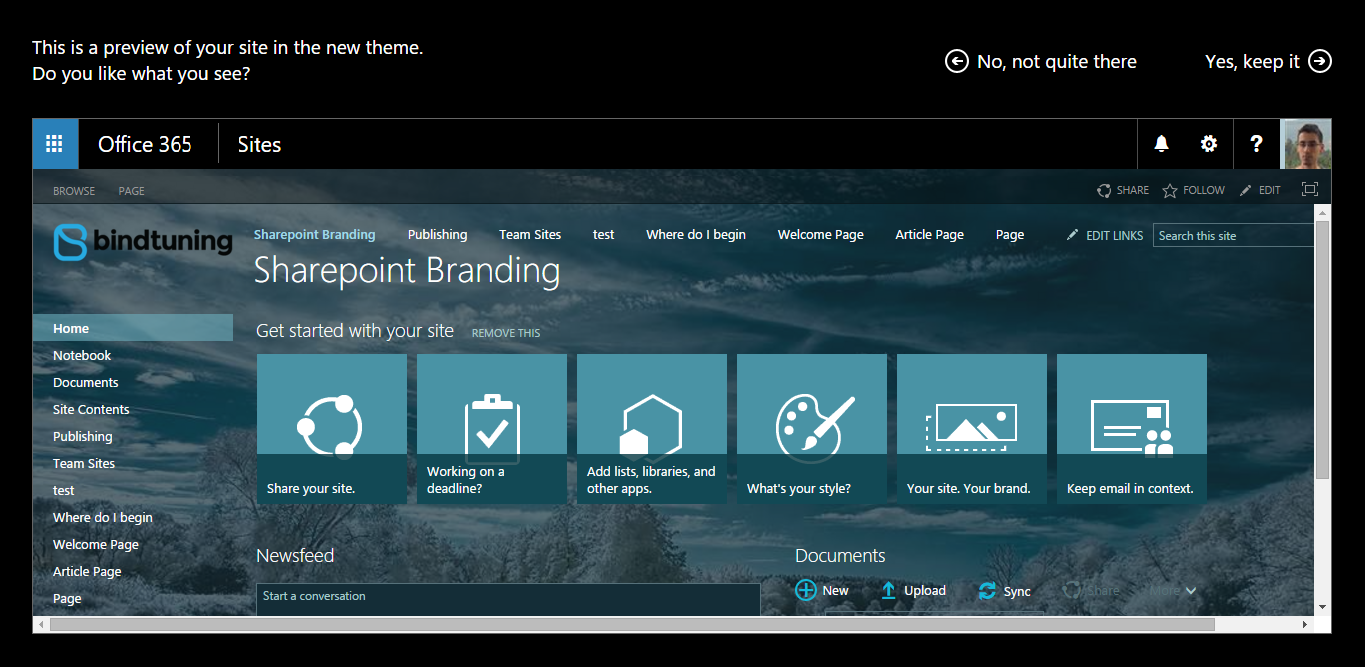
Your site now has a completely different appearance that required very little effort.
Let's talk sites and pages
While your page now looks fancy, the intranet is never going to be one lone page that stands on its own. Naturally you’ll have to create more pages to have more content. Let's talk about how to create sites and pages as well as how to customize them.
What is a page?
In SharePoint, a page is the area between the navigation menu and the end of the site.
In SharePoint there are two types of pages: wiki pages and publishing pages. I'm not going to go into a lot of detail here about their differences, but you should understand what they are:
Publishing pages are meant for heavily curated content. These pages are typically used whenever a small group of people wants to communicate a message to a larger audience. Typical examples are a company’s home page or the announcement page for an event. Whenever you need to carefully monitor what content is on a page and how it is displayed to people, you should use Publishing pages.
Wiki pages are very easy pages to edit and create. Whenever you change a wiki page and save it, your changes will become visible to everyone instantly. You should use these pages for small teams where content doesn't really need to be controlled and you just want to easily share information.
#3 Creating the first page
To create a page, open the cogwheel menu and select Site Contents. This is where you will find the most resources in your site. For instance, if you uploaded a logo or background image earlier, you will find them in the Site Assets folder.
On this page you will either have a folder called Pages or one called Site Pages. The first is where Publishing pages are created. The second contains all your Wiki pages. You can also add new pages to your website from these folders.
Go in and try it now. Once the page is created, you will be redirected to it. Do you see how the customization still applies here? That's because every page draws its style from the parent site. There may, however, be situations where you want to have a page under this site but with a different look. In that case you should create a site instead of a page.
#4 Creating sites
When you use SharePoint for the first time, you'll have only a lone site to work with. You can create pages to your heart's content on it but, as we just saw, they will all look the same. At some point you will need to create new sites. So, let’s create a site.
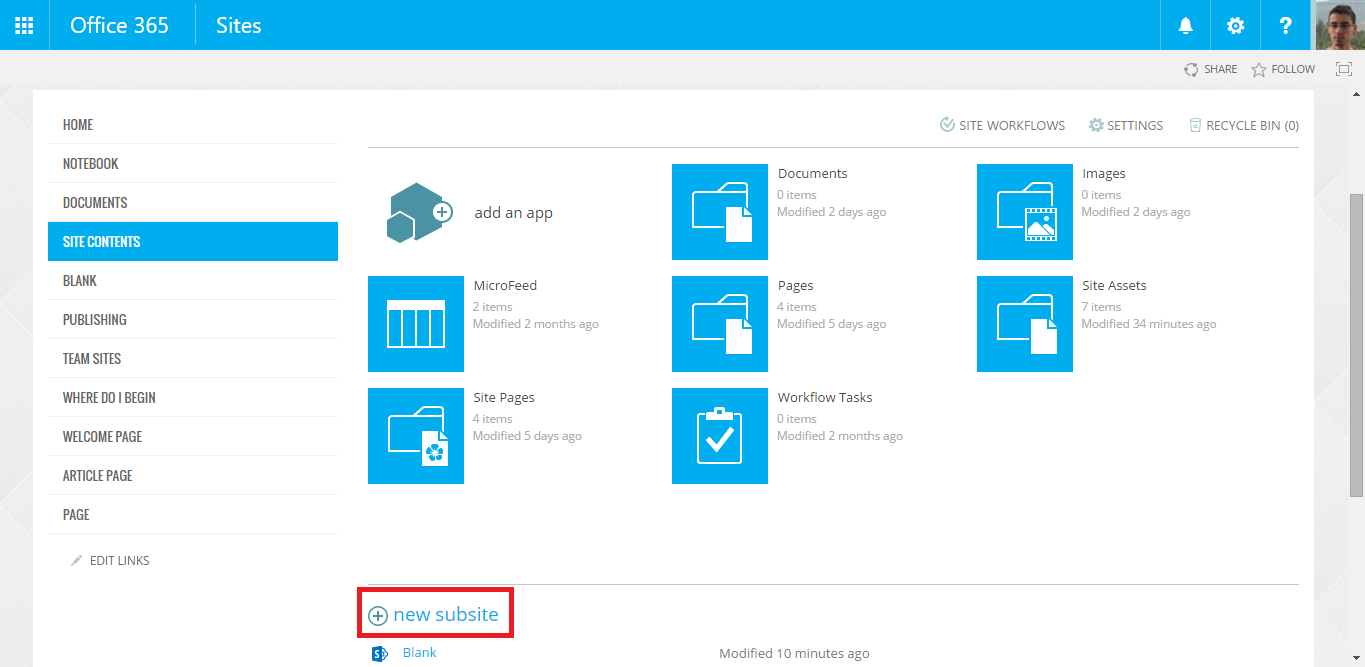
Begin by opening the Settings menu and navigating to the Site Contents page once again. If you look at the bottom of the page, you will see a section called "Subsites," with a very handy button that you can use to create a new one. Click that and you will go to a new page.
Here you can set:
- The title and address for the site
- The language the site will appear in
- A site template
- Whether to share permissions with the parent site
- How the navigation menu behaves.
The language option defines what language the site will be using. This means that menus and, tooltips and everything else will be in that language. The content will not be translated however.
The permission and navigation options are more advanced topics so we won't go into them here. For now, I recommend you leave them as the default.
Templates define what types of functionality will be readily available in the site and provide a set of pages for you that are already formatted. If you choose the Blog template, for instance, you will get a very basic blog that is set up and all ready to go.
I recommend that you try creating a few of them and then explore the differences for yourself. It’s important, however, to mention two templates in particular. Team sites and publishing sites are the two most-used templates in this list because they give you the most freedom to change the site's content and structure.
- Publishing sites use publishing pages by default with the parent site’s customization. Unlike pages, however, they can be changed.
- Team sites use wiki pages and apply their own styles. Like Publishing pages, this behavior can also be changed but we'll address that in a later chapter.
Once you've filled out the form, press Create at the end of the page and you'll be redirected to your new site.
That's it. Really.
This site behaves exactly the same as the one we were using before so you can customize it in whatever way you like. You can even create more subsites.
Let's recap
Branding SharePoint can be very easy.
- The 'Change the look' tool lets you radically change the look of your sites in minutes
- Publishing pages are meant for heavily curated content
- Wiki pages are used to share and update information quickly
- Pages always use the same style as the parent site
- Publishing sites take the style from their parents while Team sites do not